|
|
|
|
|
|
|
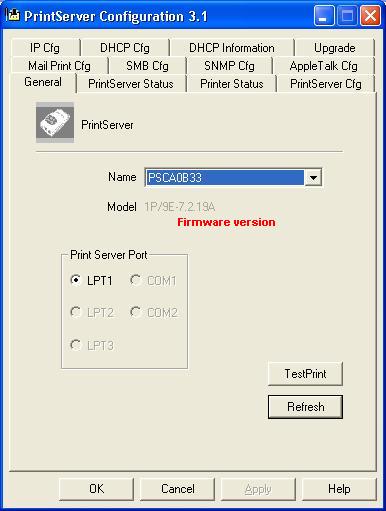
Q: While I enable the Windows XP SP2 firewall on my computer, I can not print to the Edimax print server. Please make sure you can print to the print server while the firewall is disabled. Here is the procedure for the Standard TCP/IP printer port. 1. Run the PrintServer Configuration Utility to get the IP address of your Print Server. If your Print Server Configuration looks like
the following, click
on PrintServer Status tab. Take a note about the Active IP address. If
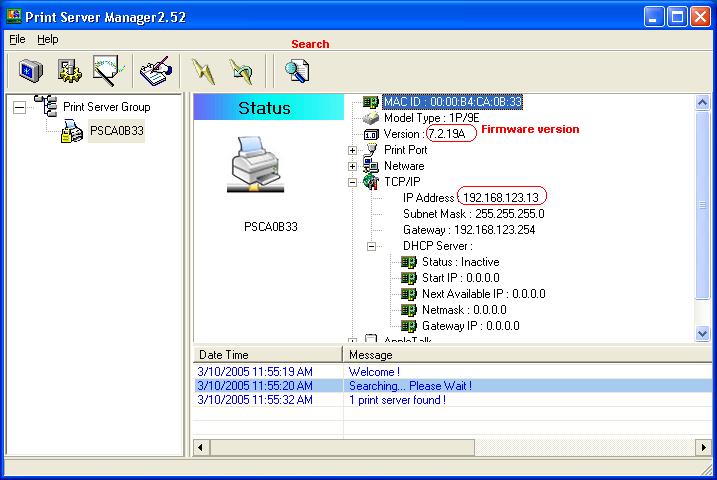
your Print Server Configuration Utility looks like this, get the IP
address It
is optional to assign print server a fixed IP address in your network, but we
suggest you do so. 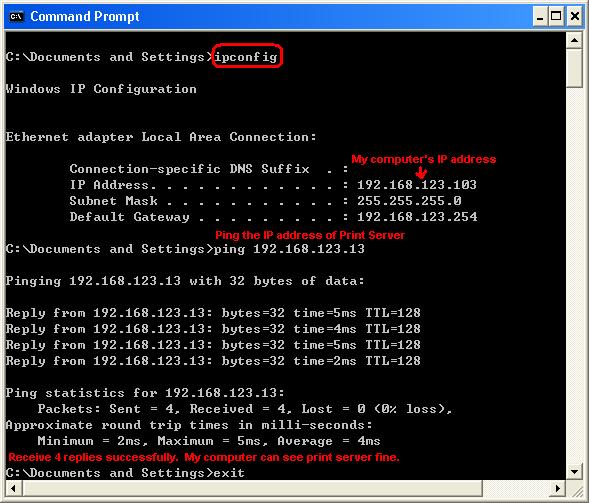
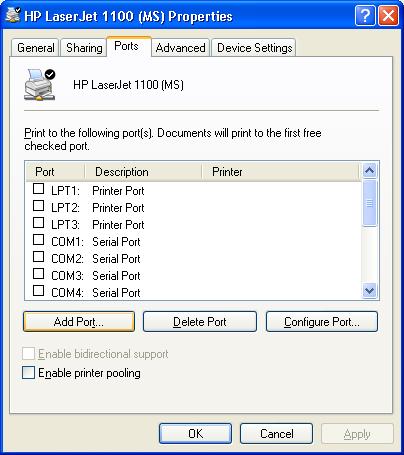
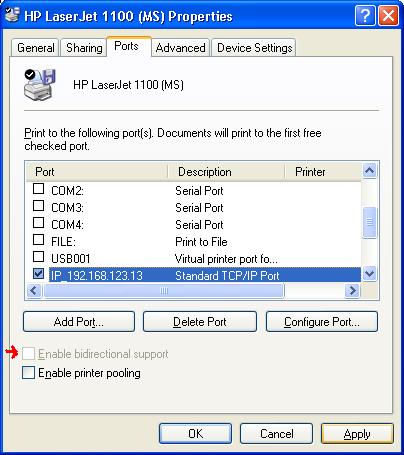
3. Under the command prompt, PING the IP address of your print server. In our example, ping 192.168.123.13 and receive 4 replies. Type Exit hit Enter to close the command prompt. 4. Click Start menu, go to Printers and Faxes. Right
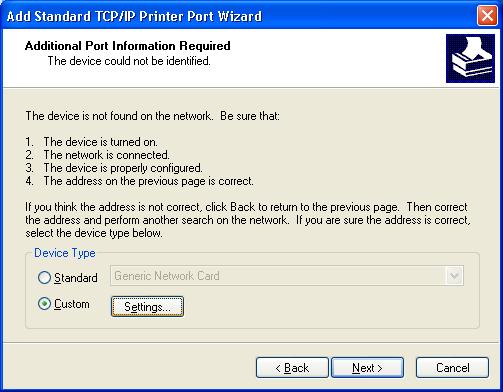
click on your printer driver icon and select Properties. Go to Ports
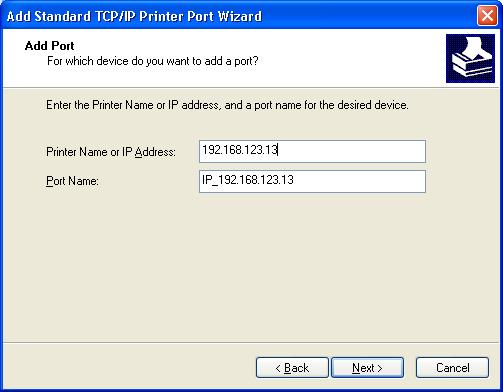
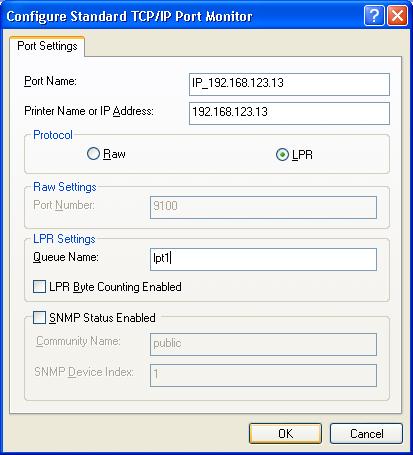
tab. Click on Add Port. 7. Select Custom. Click Setting. 8. Select Protocol: LPR. Input the Queue name:
lpt1. It must be lower case of LPT1 for single port print
server. If you have multiple port print server and the printer is on
the second port, the queue name will be lpt2. If the printer is on
the third port, the queue name will be lpt3. 9. Click OK. Click Next. Click
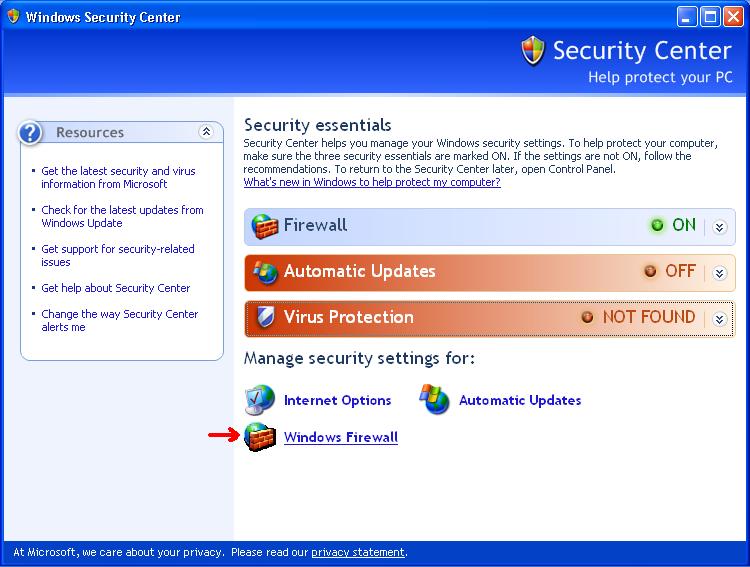
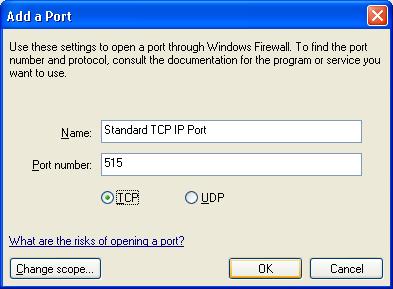
Finish. Click Close. You will be back to the Ports tab. 10. Now we add the exception port 515
in the XP Firewall. 11. Under the General tab, the firewall is enabled.
Go to Exceptions tab.
12. Click OK to close Security Setting. |
|